
10 Apr How to Build a Safe Environment for Kids with Hidden Hazard Mapping Strategies
Every parent wants their child to be safe. However, many dangers in a home or outdoor space are not immediately visible. They hide in plain sight. A loose cabinet door, a poorly lit staircase, or a garden gate that does not latch properly can all lead to serious accidents. Hidden hazard mapping is a structured approach that helps you find and fix these risks before they cause harm. This article will walk you through practical strategies to build a truly safe environment for your children.
Understanding What Hidden Hazard Mapping Really Means
Hidden hazard mapping is the process of systematically identifying dangers in a space that are not immediately obvious. Unlike a basic safety check, it goes deeper. It considers how a child moves, thinks, and interacts with their environment at different ages and developmental stages.
Children do not see spaces the way adults do. A toddler is drawn to small objects that fit in their mouth. A five-year-old may climb furniture without thinking about the risk of falling. A ten-year-old might experiment with electrical outlets out of curiosity. Therefore, hazard mapping must account for the specific behaviors and tendencies of the child’s age group.
The goal is not to create a sterile, joyless space. It is to remove unnecessary risks while still allowing children the freedom to explore and grow. When done well, hazard mapping gives parents peace of mind and children a safer space to thrive.
Why Standard Childproofing Is Not Always Enough
Many parents rely on basic childproofing measures. These include outlet covers, cabinet locks, and baby gates. These steps are helpful. However, they address only the most visible and well-known risks. Hidden hazards go further.
Consider window blind cords. They are easy to overlook. However, they pose a serious strangulation risk for young children. Similarly, heavy furniture that is not anchored to a wall can tip over if a child climbs it. Water left in a bucket or bathtub, even in small amounts, can be dangerous for toddlers. These hazards are not always addressed in standard childproofing guides.
Additionally, outdoor spaces carry their own hidden dangers. Uneven ground, sharp garden tools left within reach, or a fence with a gap large enough for a small child to squeeze through are all examples of risks that a casual glance might miss.
Hidden hazard mapping closes the gaps that standard childproofing leaves behind.
How to Start Your Hidden Hazard Map
Getting started is simpler than it sounds. You do not need professional training or expensive equipment. What you do need is time, attention, and a willingness to look at familiar spaces with fresh eyes.
Here is a simple process to follow:
- Choose one room or area at a time. Starting small prevents overwhelm.
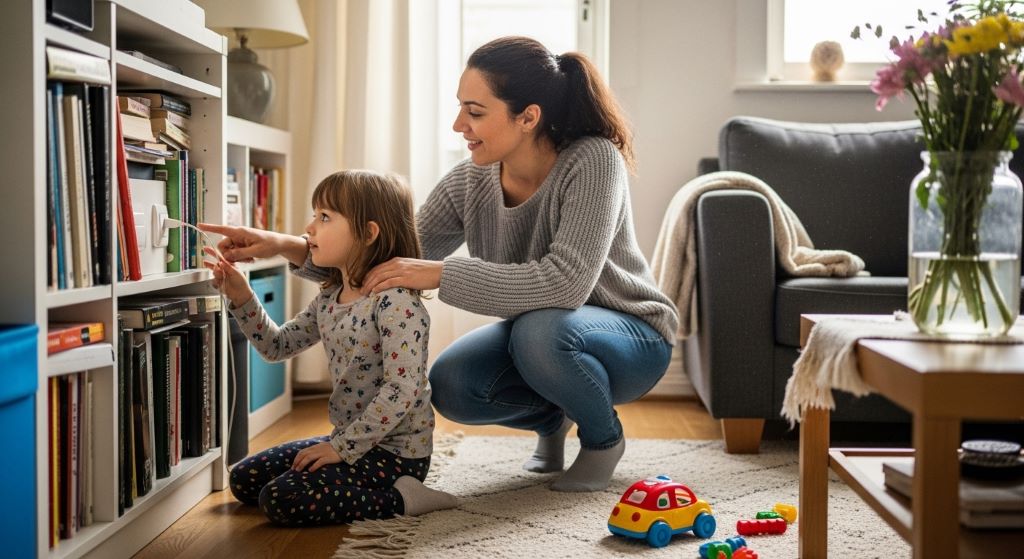
- Get down to your child’s eye level. Crouch or kneel and look around the space from their perspective. You will notice things you have never seen before.
- Move through the space as a child would. Open drawers, touch surfaces, and follow the path a curious child might take.
- Write down every potential hazard you observe. Do not judge or dismiss anything at this stage. List everything.
- Take photos of each hazard. A visual record helps you track what has been fixed and what still needs attention.
- Assign a priority level to each hazard. Some risks need immediate action. Others can be addressed over time.
Repeat this process in every room, including bathrooms, kitchens, garages, and outdoor spaces. Additionally, revisit your hazard map every six months or whenever a child reaches a new developmental stage.
Mapping Hazards Room by Room
Each area of a home carries its own unique set of hidden risks. A room-by-room approach ensures nothing is overlooked.
The Kitchen
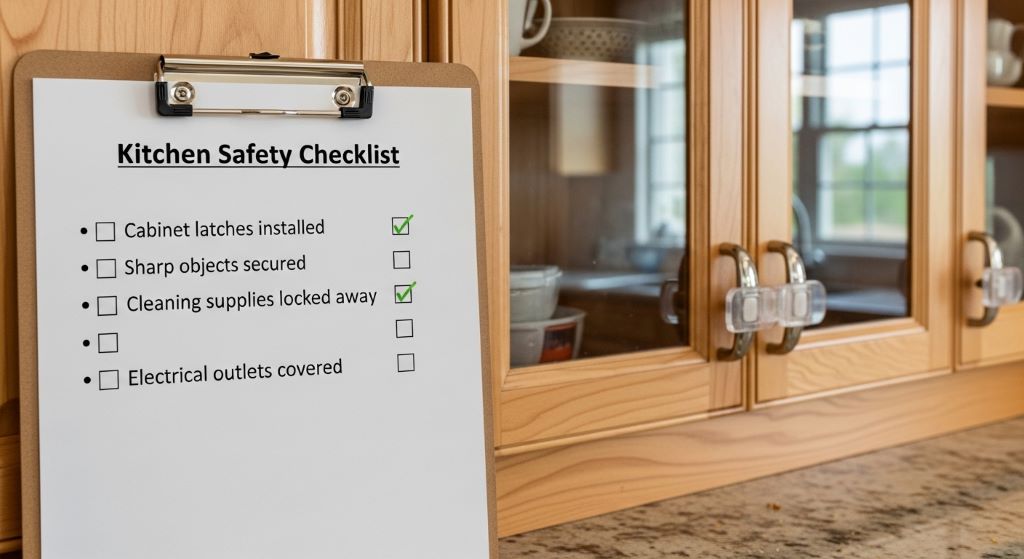
The kitchen is one of the most hazardous rooms for children. Beyond the obvious dangers of hot surfaces and sharp knives, there are less visible risks to consider. Cleaning products stored under the sink are a common hazard. However, so are spice racks that are within reach, plastic bags stored in low cabinets, and small magnets on the refrigerator that can be swallowed.
Check that the oven has a child lock feature. Ensure that heavy pots are stored securely and cannot fall. Also inspect the floor for loose tiles or slippery surfaces, especially near the sink where water can spill.
The Bathroom
Bathrooms contain several hidden hazards that go beyond the bathtub. Medications stored in unlocked cabinets are a serious risk. Electric hair dryers or straighteners left plugged in near water are equally dangerous. Additionally, the toilet lid can be a drowning hazard for very young children. A toilet lock is a simple and effective solution.
Check for slippery floors and ensure non-slip mats are in place. Hot water settings on the water heater should be set to no higher than 49 degrees Celsius (120 degrees Fahrenheit) to prevent scalding.
The Living Room and Bedrooms
These spaces may seem safer, but hidden hazards exist here too. Furniture with sharp corners at a child’s head height poses a risk. Cords from lamps or electronics can be tripping hazards or, worse, strangulation risks if looped. Bookshelves and dressers that are not anchored to walls can tip over.
In children’s bedrooms, inspect the crib or bed for gaps where a small child could become trapped. Check that window screens are secure. A screen is designed to keep insects out, not to prevent a child from falling. Therefore, window guards or stops should be installed to limit how far a window can open.
The Garage and Storage Areas
These spaces are often the most overlooked. Garages commonly contain chemicals, sharp tools, and heavy equipment. Pesticides, motor oil, and paints should be stored in locked cabinets. Additionally, any tools with sharp edges should be out of reach and ideally secured.
Check that the garage door has a safety reverse feature. This prevents the door from closing on a child who walks under it. Also inspect shelving units for stability, especially if a child could potentially climb them.
Mapping Outdoor Spaces for Hidden Risks
Outdoor areas offer children wonderful opportunities for play and exploration. However, they also contain hidden hazards that require careful attention.
Start with the perimeter. Check fences for gaps, broken sections, or sharp edges. A fence is only effective if it is fully intact. Gates should latch securely and, if near a pool or road, should be self-closing.
Inspect play equipment regularly. Swings, slides, and climbing frames can develop rust, splinters, or loose bolts over time. The surface beneath play equipment is equally important. Concrete or bare earth does not absorb the impact of a fall. Soft materials such as rubber mulch, wood chips, or sand are safer alternatives.
Water features, including paddling pools, ponds, and birdbaths, should be carefully managed. Even shallow water poses a drowning risk for toddlers. Additionally, check plants in the garden. Many common garden plants, such as foxglove, oleander, and nightshade, are toxic if ingested. If you are unsure about a plant, research it or remove it.
Teaching Children to Be Part of the Safety Process
Hazard mapping is not only a parent’s job. Children can and should be involved, in age-appropriate ways. When children understand why certain rules exist, they are more likely to follow them.
For younger children, use simple language. Explain that some things can hurt them and that rules are there to keep them safe. Create clear visual cues, such as red stickers on things they should not touch.
For older children, involve them directly in the mapping process. Let them walk through the space with you and point out things that seem unsafe. This builds their awareness and critical thinking skills. Additionally, it gives them a sense of responsibility for their own safety and the safety of younger siblings.
Teach children what to do in an emergency. Make sure they know how to call for help, where to go if there is a fire, and who to contact if they feel unsafe. These conversations are part of building a truly safe environment.
Keeping Your Hazard Map Updated Over Time
A hazard map is not a one-time project. It is a living document that needs regular review. Children grow and change quickly. A hazard that was irrelevant for a two-year-old may become critical for a four-year-old who has learned to climb.
Schedule a review of your hazard map every six months. Also update it after any significant change, such as moving furniture, buying new appliances, or making home renovations. Additionally, pay attention to seasonal changes. Garden hazards may shift between summer and winter. Holiday decorations can introduce temporary risks, such as small ornaments or electrical lights placed within a child’s reach.
Consider sharing your hazard map with caregivers, grandparents, and babysitters. Anyone who spends time with your children in your home should be aware of the known hazards and the steps taken to address them.
Tools and Resources That Support Hazard Mapping
Several tools can make the hazard mapping process easier and more thorough. A home safety checklist from a reputable source, such as a national health or safety organization, provides a useful starting point. These checklists cover many common hazards and can help ensure you have not missed anything obvious.
Smartphone apps designed for home safety assessments can also be helpful. Some allow you to photograph hazards, assign categories, and track your progress over time. Additionally, local fire departments and health visitors often offer free home safety checks. These professionals bring trained eyes and can identify hazards that even a careful parent might overlook.
However, no external tool replaces your own careful observation. You know your home and your children better than anyone. Your attention to detail is the most valuable resource in this process.
Conclusion
Building a safe environment for children requires more than basic childproofing. Hidden hazard mapping gives you a structured, thorough way to identify and address risks that are easy to miss. By approaching each room and outdoor space with fresh eyes, getting down to a child’s level, and documenting what you find, you create a much safer home.
The process works best when it is ongoing. Children grow, seasons change, and homes evolve. Therefore, regular reviews of your hazard map are essential. Involving children in age-appropriate ways also builds their own safety awareness and sense of responsibility.
Additionally, sharing your findings with other caregivers ensures that everyone who looks after your children is working from the same informed foundation. Ultimately, hidden hazard mapping is one of the most practical and loving things a parent can do. It turns good intentions into real protection, and that is something every child deserves.
Frequently Asked Questions
What is hidden hazard mapping and how is it different from standard childproofing?
Hidden hazard mapping is a systematic process of identifying non-obvious dangers in a space by viewing it from a child’s perspective and developmental stage. Standard childproofing typically addresses well-known risks like outlets and cabinet locks. Hazard mapping goes further, uncovering dangers that are easy to overlook, such as furniture tip-over risks, toxic plants, and unsecured garage chemicals.
How often should I update my child safety hazard map?
You should review and update your hazard map at least every six months. Additionally, update it whenever a child reaches a new developmental stage, after any home renovation or furniture change, and when seasonal decorations or equipment are introduced into the home.
At what age can children be involved in hazard mapping?
Children as young as three or four can begin to understand basic safety rules using simple language and visual cues. Older children, from around age six or seven, can actively participate in the mapping process, helping to identify potential risks and learning why safety measures are important.
What are the most commonly overlooked hidden hazards in a home?
Some of the most commonly missed hazards include window blind cords, unsecured heavy furniture, medications in unlocked bathroom cabinets, toxic garden plants, water features in outdoor spaces, and tools or chemicals stored in garages without locks.
Are there professional services that can help with home hazard mapping for children?
Yes. Many local fire departments offer free home safety checks. Health visitors and pediatric safety organizations also provide resources and assessments. Additionally, certified home safety consultants can perform thorough inspections and recommend specific solutions tailored to your home and your child’s age group.
Related Topics:
Are Baby Muslin Washcloths Safe for Kids?
Best On The Go Kids Travel Accessories
Sorry, the comment form is closed at this time.